

Overview
Step 1 : Log in to Azure Portal
Step 2 : Create Resource Group
Step 3 : Create Virtual Machine
Step 4 : Download and generate new key pair
Step 5 : Deploy your VM
Step 6 : Launch PowerShell
Step 7 : Connect to linux VM
This article demonstrates how to install a Linux virtual machine (VM) in Azure using PowerShell. There is a variety of Linux distributions such as Ubuntu, CentOS, and Debian is supported by Azure but we will be using the Ubuntu image.
There are the fundamental procedures for setting up an Azure Linux virtual machine which will be shown on this below :
Step 1 : Log in to Azure Portal
The URL to the Azure Portal should be something like the one below:
- https://portal.azure.com/
Log in with your Azure account.
Step 2 : Create Resource Group (Optional)
A resource group is a container that holds related resources for a solution in Azure. If you do not have a resource group, you can create a new one in the provided space by opening "Resource groups" from the left-hand side navigation and clicking "Create". Use my article URL and follow the instructions on how to create a Resource Group ladyintech.hashnode.dev/step-by-step-tutori..
Step 3A : Create Virtual Machine
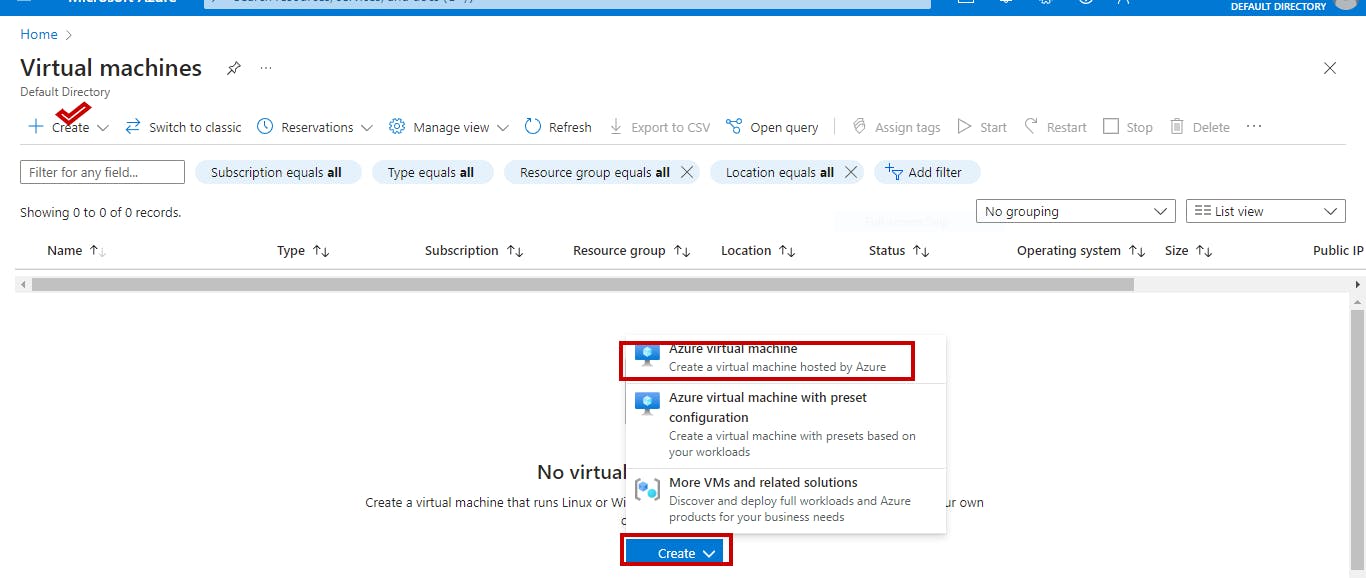
Click the "Create a resource" icon found at the left-hand corner at the top of the Azure portal.
On the search bar, type "Virtual machine" and click "Enter".
Search results will come up, and among them will be "Virtual machine". Click on it, then click "Create".
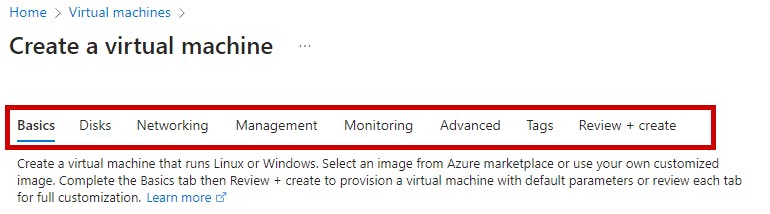
b. These are the settings we will be filling .Let's start with the "Basics setting"
c. "Click" on the subscription dropdown & Choose the subscription you want to use for this VM.
d. Create a new or select an existing resource group. A resource group is a logical container for grouping your Azure services.
e. Provide a name for your VM.
f. Choose a region where you want to deploy your VM.
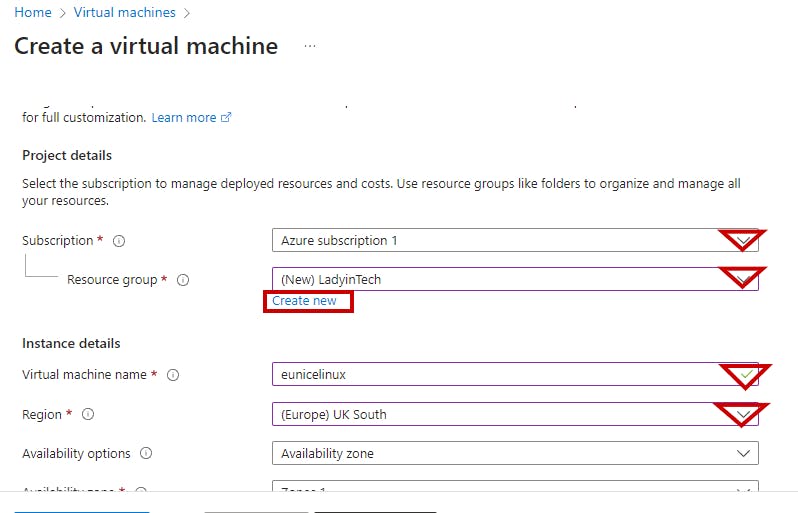
g. Select from the Availability Options drop box an "Availability zone"
h. Azure has 3 Availability Zones , Zone 1, Zone 2, Zone 3. You can select as all but we will be choosing only zone 1
I. Security Type will be set as the default setting "Trusted launch virtual machines"
J. Select the operating system image. Choose a Linux distribution from the Azure Marketplace. Select "Ubuntu Server"
k. Choose the size of your VM depending on how much CPU, memory, and disk space you need. Browse more details about each size

L. In the realm of secure communication protocols, SSH (Secure Shell) stands out as a robust and widely used method for accessing remote systems securely.
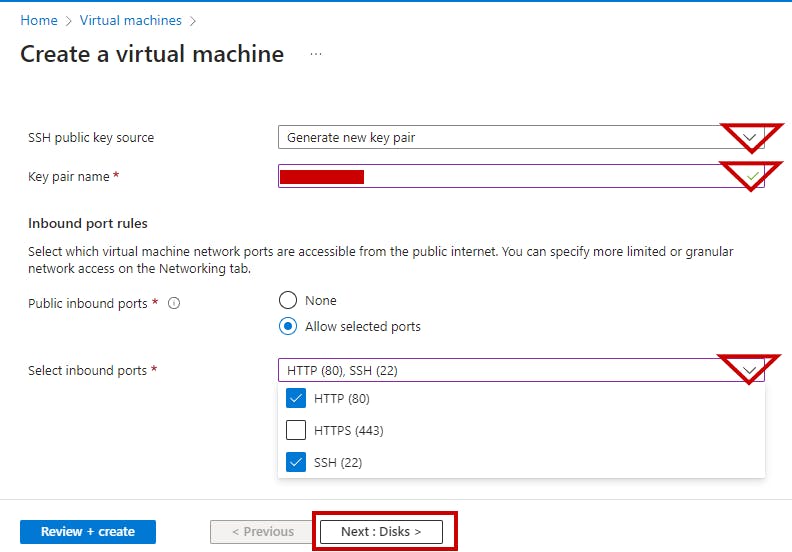
"Select" "Generate new key pair"
m. Enter Key pair name that will be used when you connect to the VM. You will also be asked for a password and your password should be exclusive to you only for security.
n. Port 22: SSH, used for secure remote administration and file transfer. SSH(22) Supports Linux that's why its already selected on default
Port 80: HTTP, used for serving web pages and web content.
Then "Click" on" Disks"
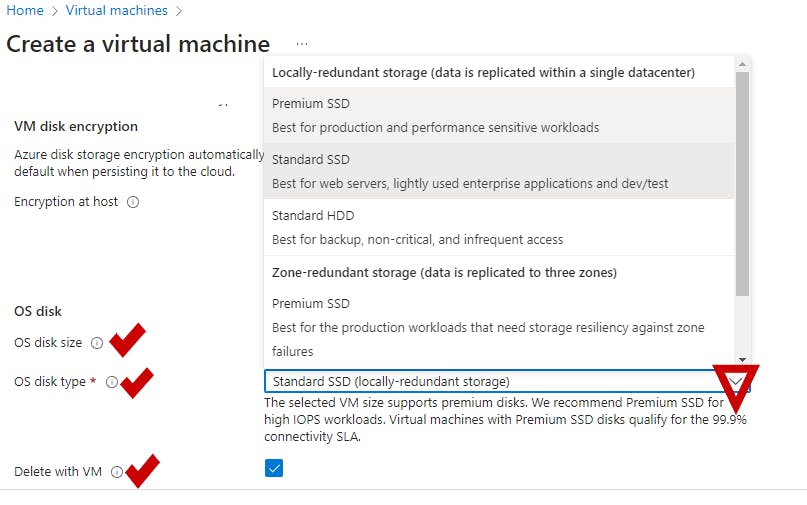
3B. Next : Disks OS disk size , OS disk type of the operating system (OS) disk can vary depending on the specific requirements of the system and the preferences of the user. Select what suits your need
I selected "standard SSD"
"Click" "Delete with VM"
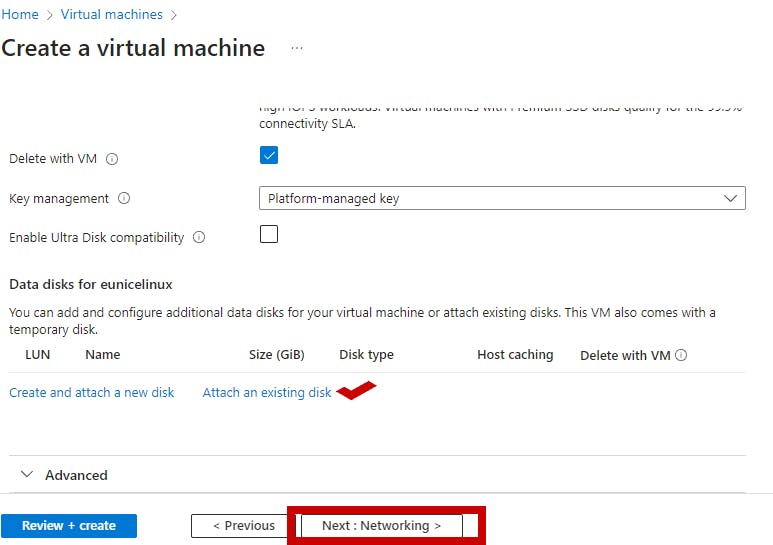
b. "Click" "Platform-managed key"
c. Create a new Disk if needed
"click" "Networking" on the right side of the page
3C : Set networking of VM by setting up the configurations, which include public IP address, virtual network, subnet, and network security group (firewall rules).
Configure the additional settings Networking , Monitoring and Advanced according to your requirements. We will keep these settings as default
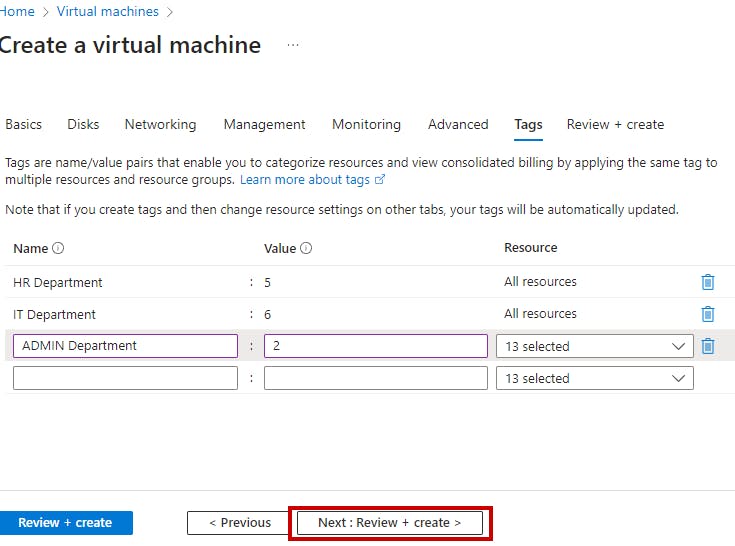
3D : Tags are metadata labels that you can apply to your Azure resources to organize, manage, and track them more effectively. Tags consist of key-value pairs and can be applied to a wide range of Azure resources such as virtual machines, storage accounts, databases, and more.
"Click" 'Review+Create" on the right side of the page
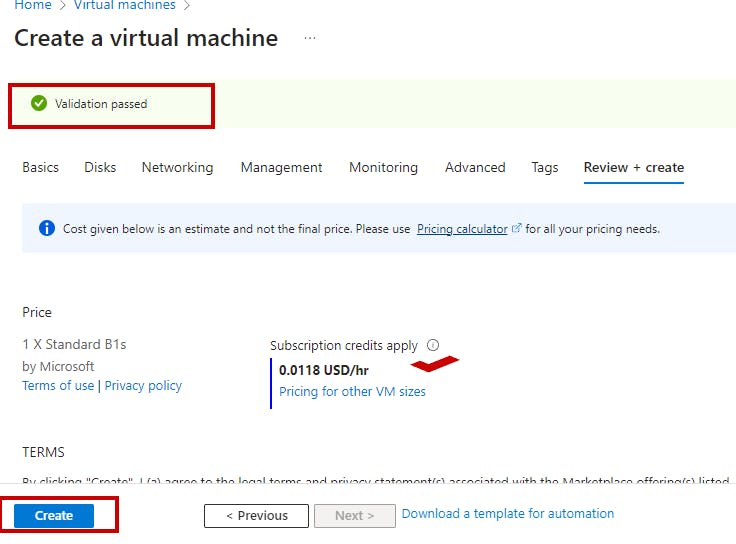
3E : Validation passed is the confirmation that the configuration has been successfully verified against predefined requirements.
Pricing is also shown as it is in the image
"Click" "Create"
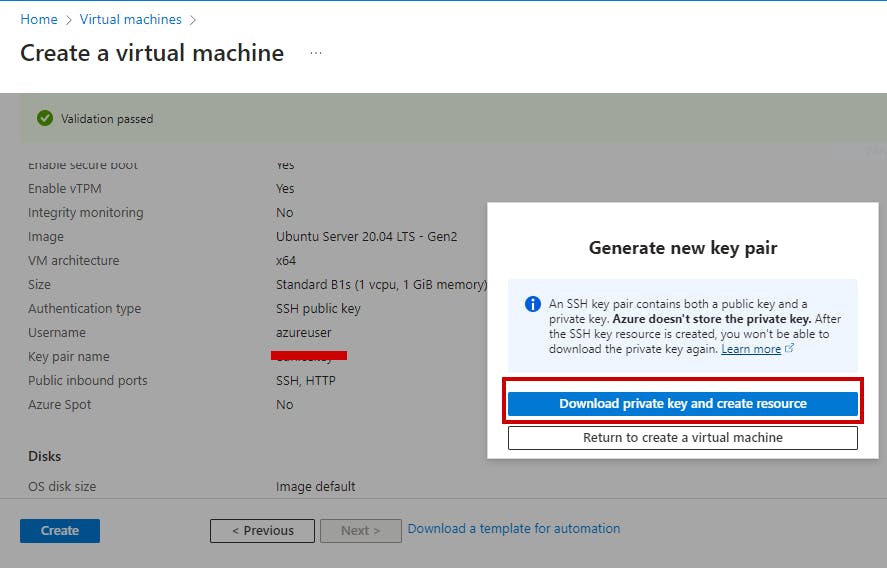
Step 4 : After you click create Generate new key pair will pop up "Click" "Download private key and create resource" and save your Key pair to your PC
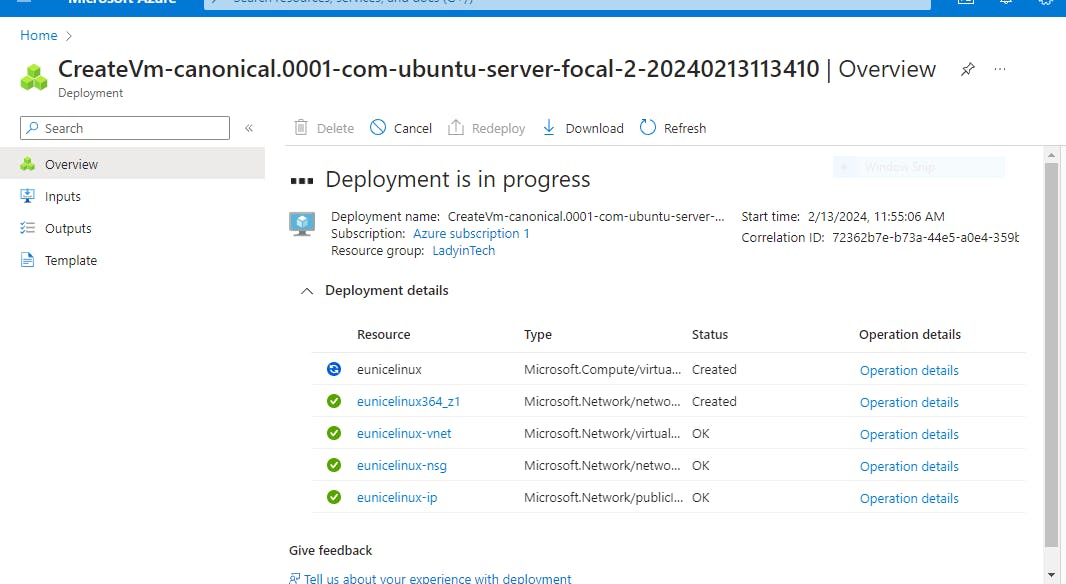
Step 5 : Deploy the Ubuntu server
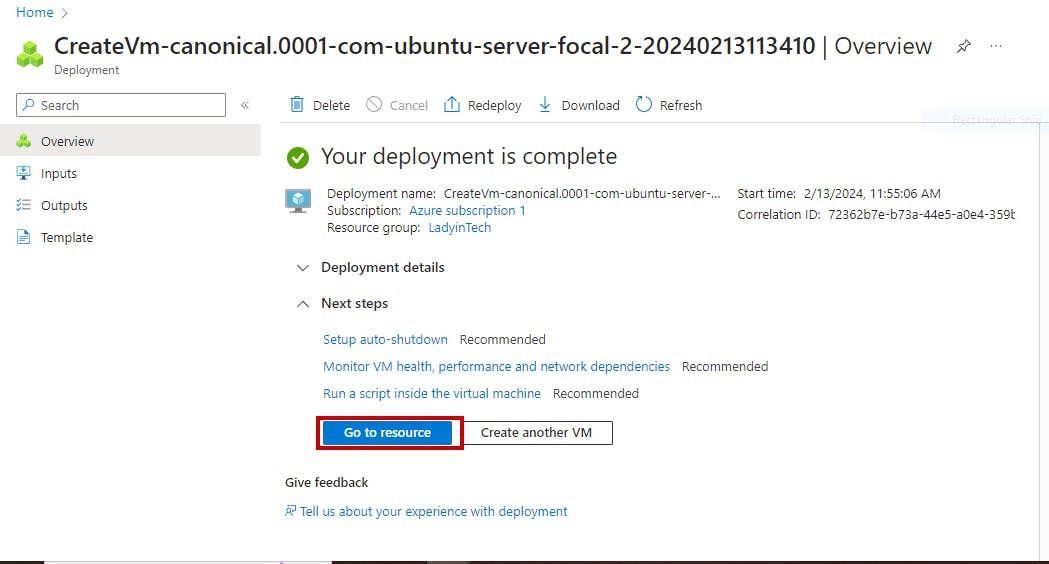
a. Deployment is complete
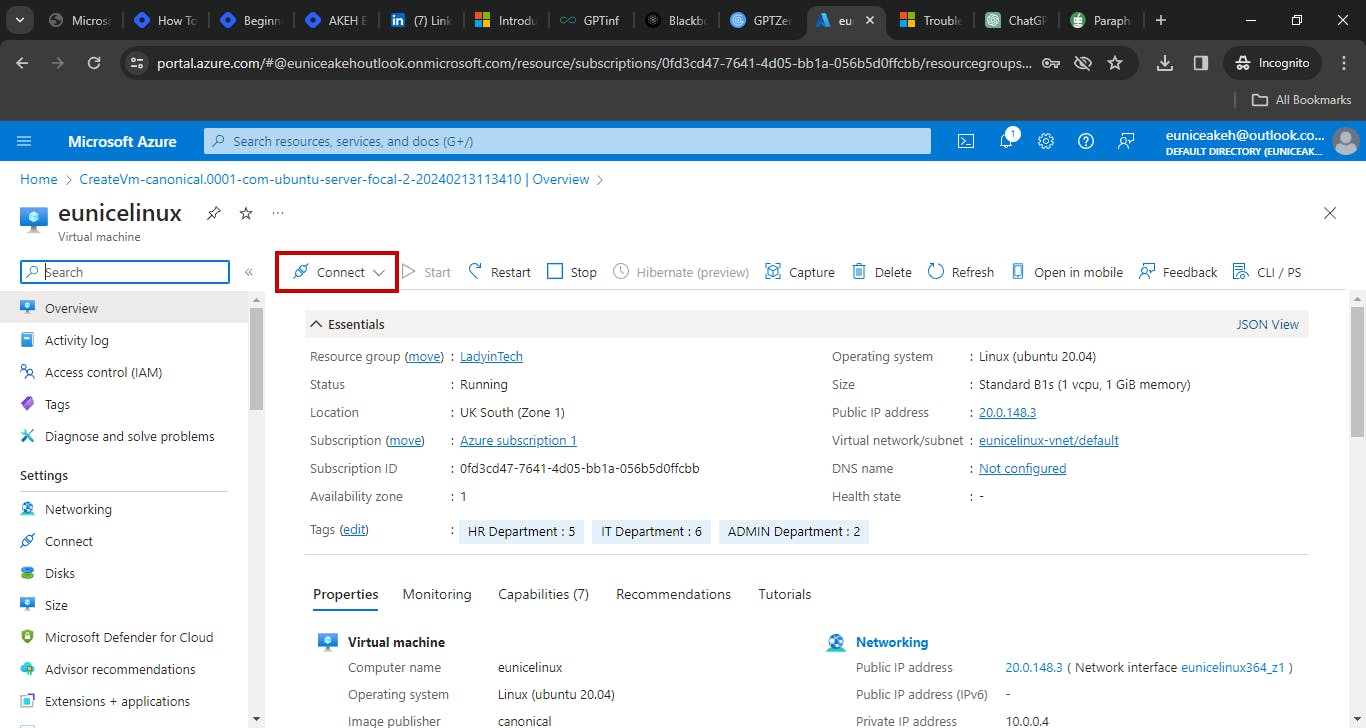
"Click" "Go to resource"
b. "Click" "Connect" it is highlighted in the image below
c. Set up SSH public key authentication if you're using a Linux VM. This allows you to securely connect to your VM using SSH.
"Click" "Native SSH"
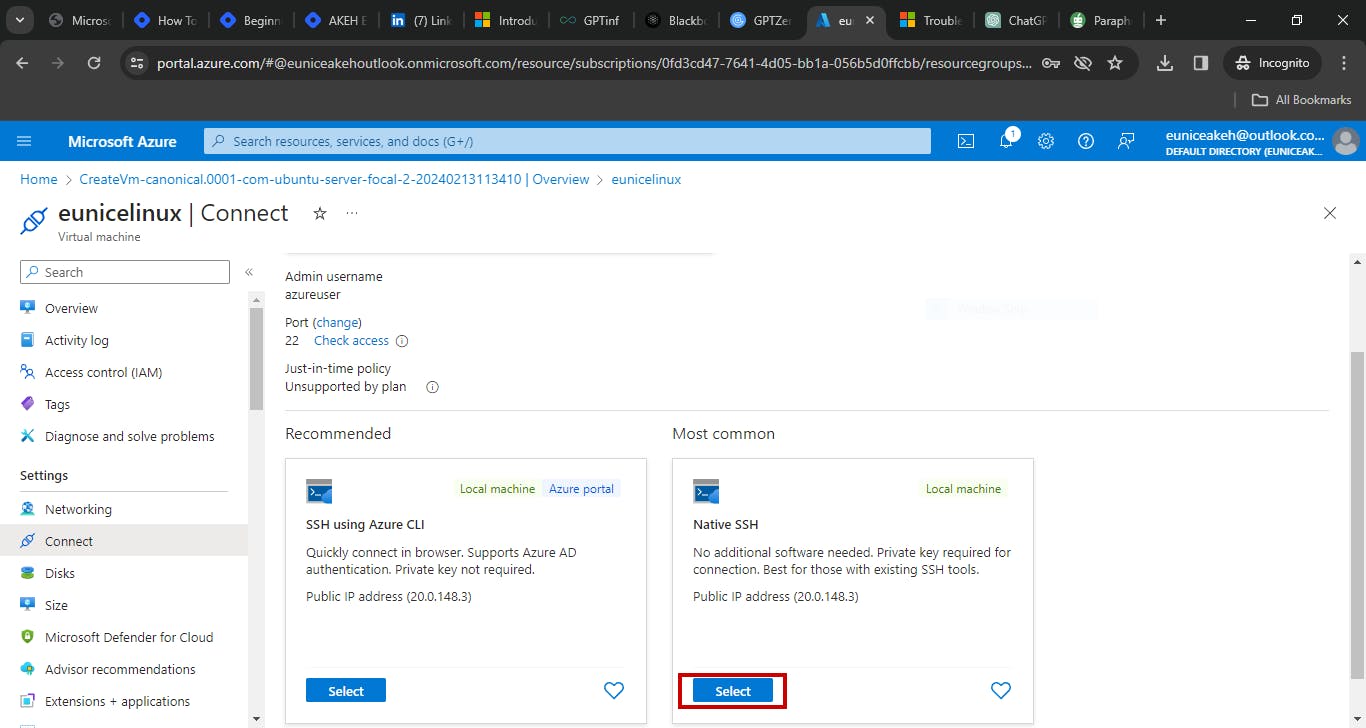
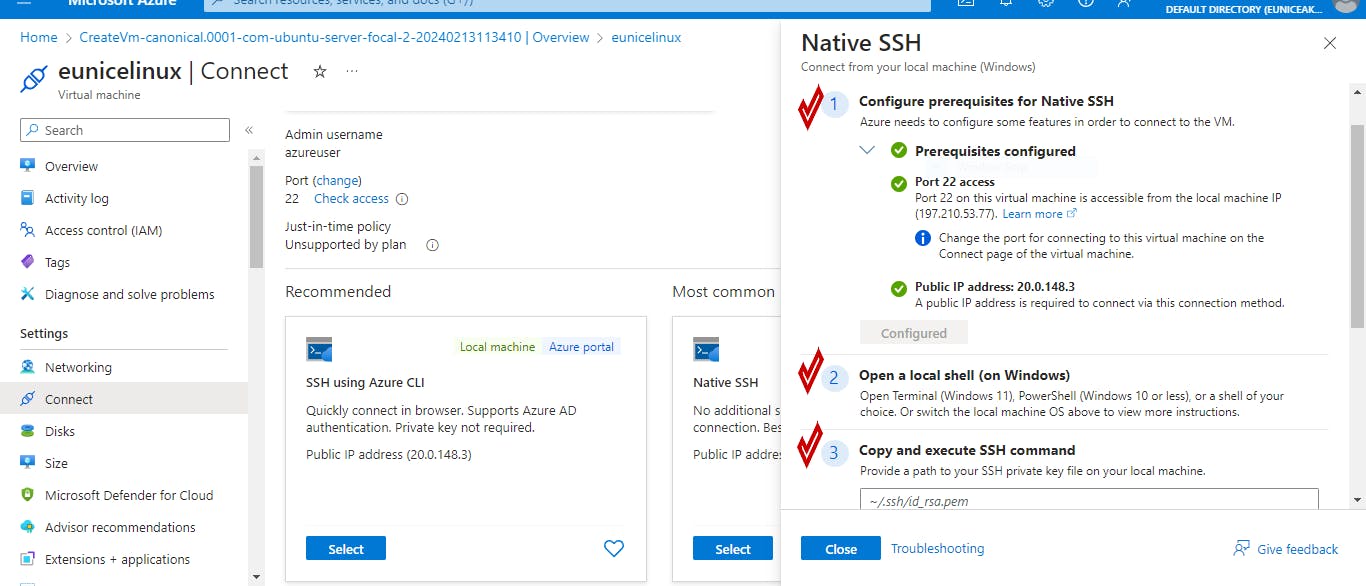
d. It pops up three different ways you can connect to your Ubuntu Vm . I will be using number 2 through "PowerShell"
Step 6a : Launch PowerShell
Open PowerShell or Windows Command Prompt in administrator mode by right-clicking and selecting "Run as administrator"
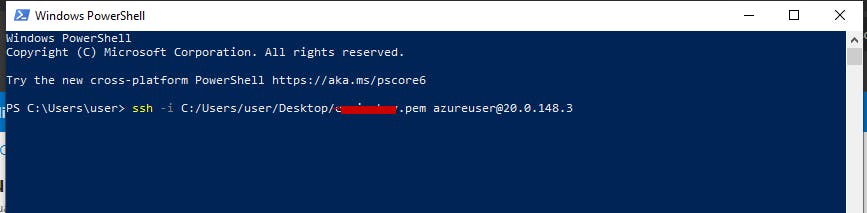
"Click" "Windows PowerShell" then "Open"
It will open exactly like the image

b. Write this command ssh i C:/users/user/keypair.pem username@ipaddress
How to achieve this command :
c. Go to your Files on your PC, go to download "Click on the New key pair "
This is how it should look like : file:///C:/users/Pcname/Desktop/keypair.pem
d. Copy the URL of your private key from your C Drive
Note: Start to copy from the C drive e.g C:/users/Pcname/Desktop/keypair.pem
Give a space write your username you provided as SshKeyName,copy and paste your IP address from your VM.
The command should look like what is in the image (Always ensure to keep your keep private)
"Click Enter"
f. You will be asked "Are you sure you want to continue connecting (yes/no/[fingerprint]?
Type "yes" "Click Enter"
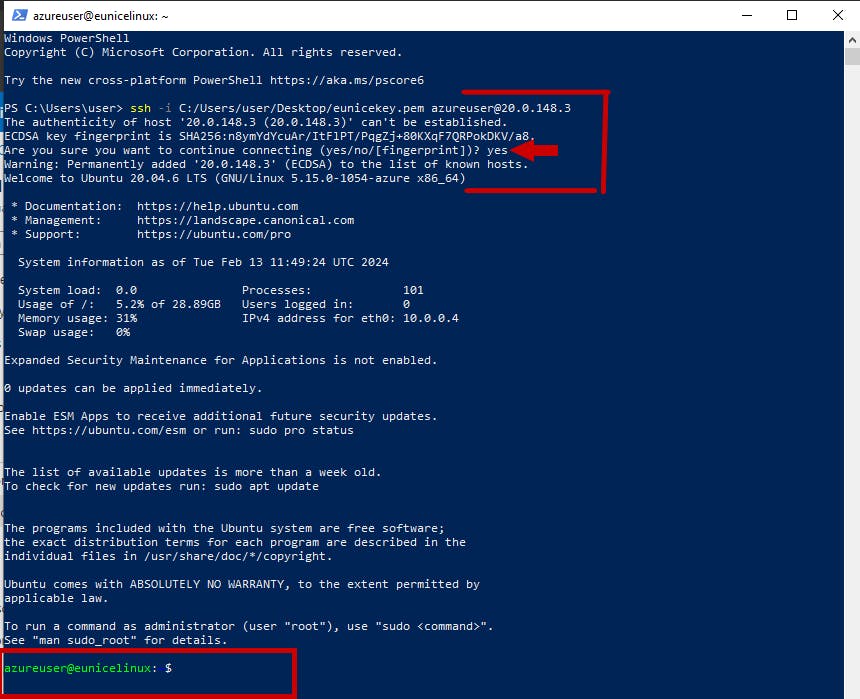
That is it! With this, the Linux virtual machine you have created at Microsoft Azure is now ready to be used. From this point, you can proceed to put your VM to use for whatever goals of web hosting, deploying applications, or setting development environments you have set.