Step-by-Step Guide to Creating, Deleting & Restoring Bulk users In Microsoft Entra ID

Introduction
Creating bulk users in Microsoft Entra ID formerly known as Azure Active Directory (Azure AD) can be achieved by using various methods such as PowerShell scripts, CSV file imports, or third-party tools. In order to create bulk users , you must be signed in as a Global administrator or User administrator. Here's a step-by-step guide to creating bulk users using CSV file imports:
How To Create Bulk Users.
Sign into azure, http://azure.portal.com/
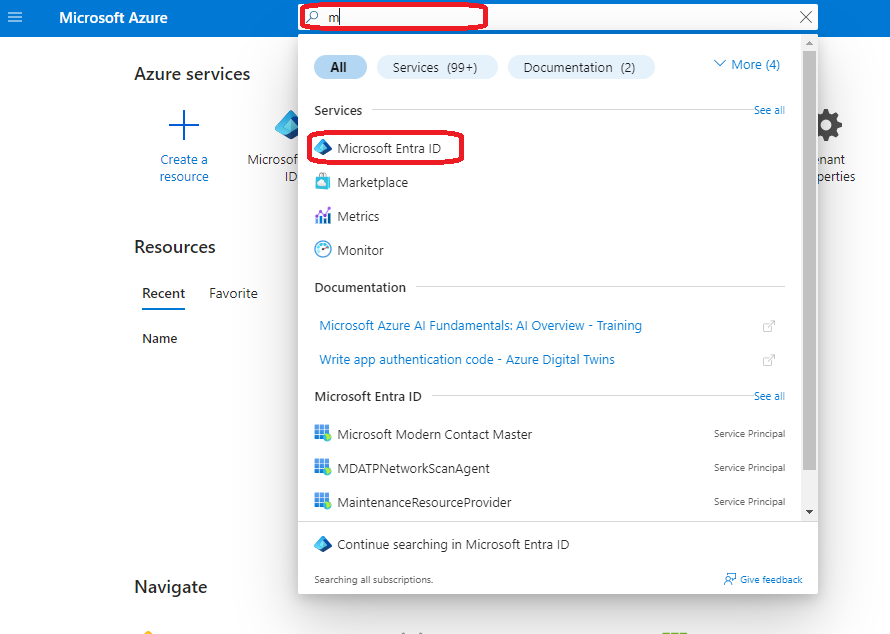
Search up Microsoft Entra ID using the homepage search box, then choose Microsoft Entra ID.
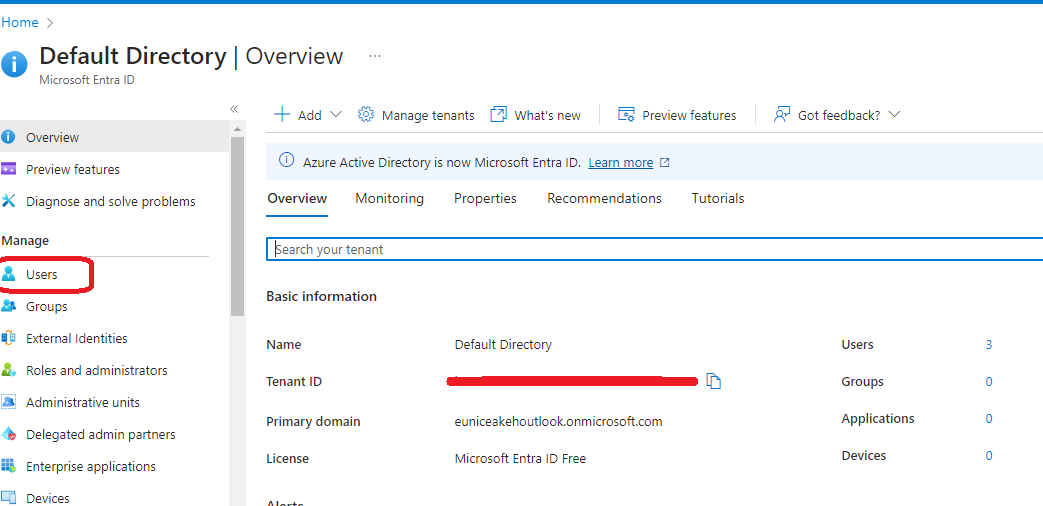
"Select" "Users" as highlighted below
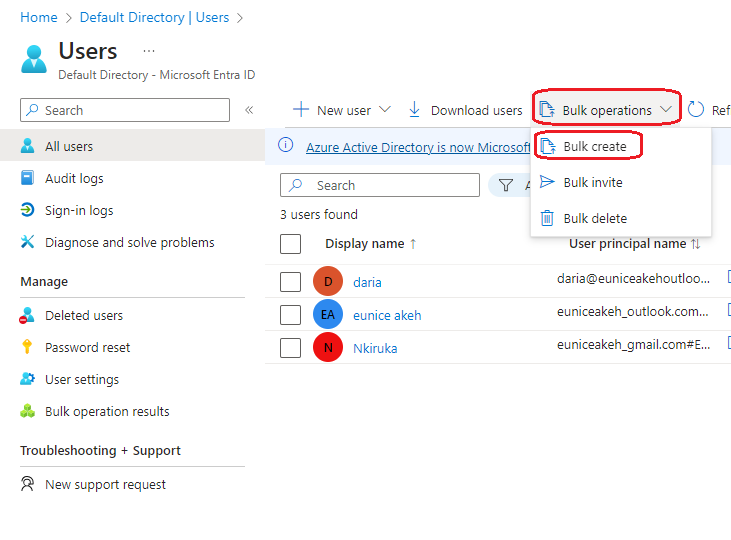
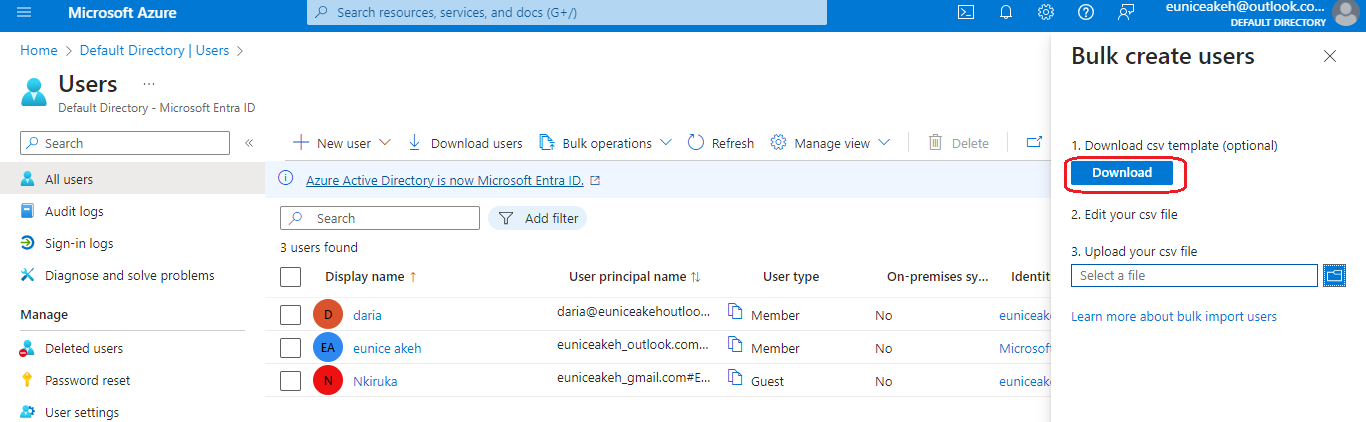
- "Click On" "Bulk Operations" and then "Select" "Bulk Create" Note: Bulk Invite is another means of creating new users
It will prompt you to the "Bulk create user" page on the right side, "Select" "Download" the template we will edit and use as a guide for our CSV file
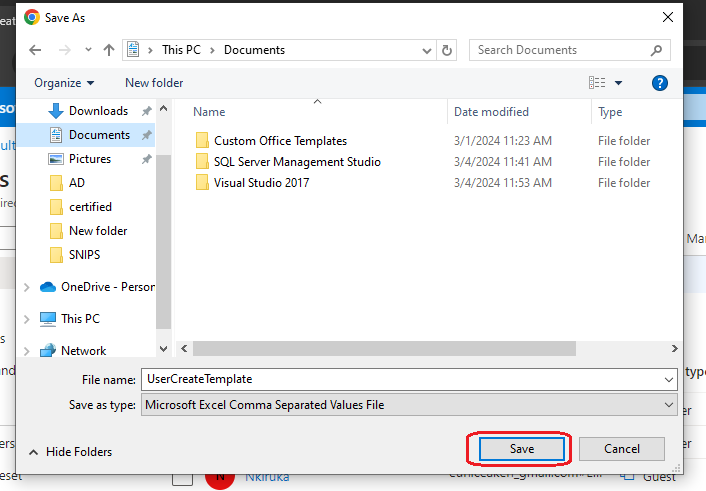
- Save template on your Local Machine
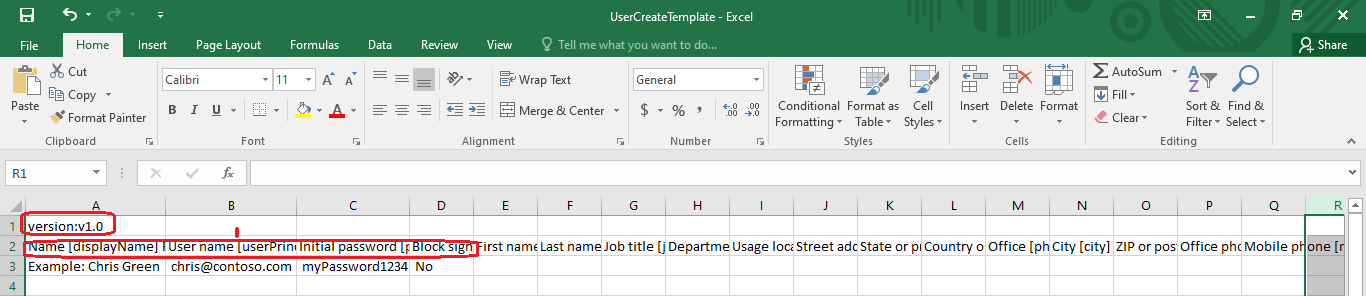
Sample of the Downloaded Template: The only required values are Name, User principal name, Initial password and Block sign in (Yes/No). Ensure that the CSV file is properly formatted with the required attributes. Then save the file.
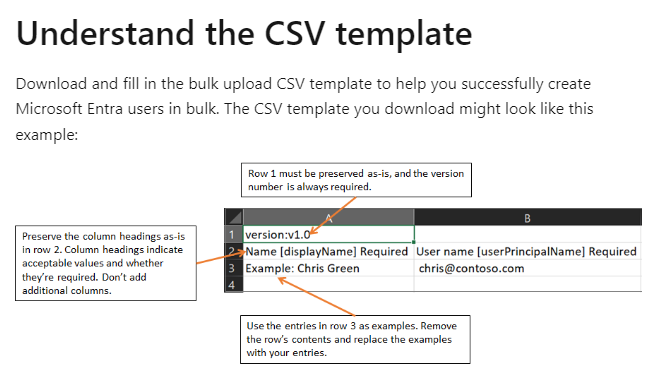
In reference to Microsoft learn this is a detailed diagram in understanding the CSV template. learn more on https://learn.microsoft.com/en-us/entra/identity/users/users-bulk-add
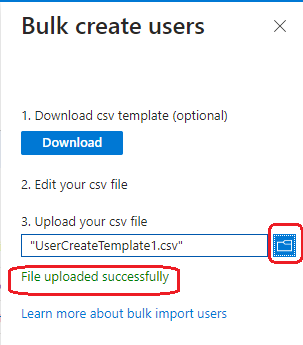
- On the Bulk create user page, "Click On" the "Blue Folder" Upload your CSV file, browse to the file. When you select the file and "Click On" "Submit", validation of the CSV file starts. you’ll see "File uploaded successfully". If there are errors, you must fix them
- On your "Bulk operation results" page check the status of your created users. If they are any errors the file contains the reason for each error so you go back to your template on your local machine to make corrections. Note: When processing a large number of new users it is advisable to split your file in to batch to reduce the size and make the upload fast.

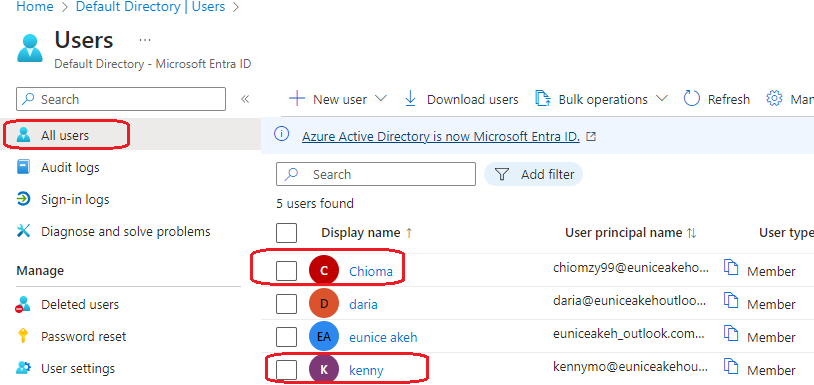
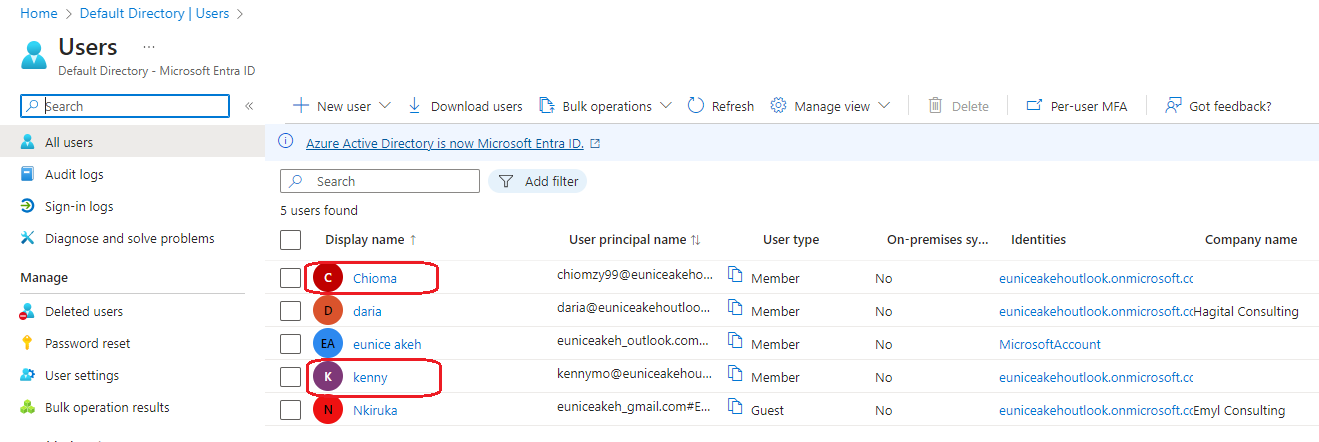
- We have successfully created 2 new users as shown below in the image
How To Bulk Delete Users
Go to the Homepage "Search" and "Select" "Microsoft Entra ID"
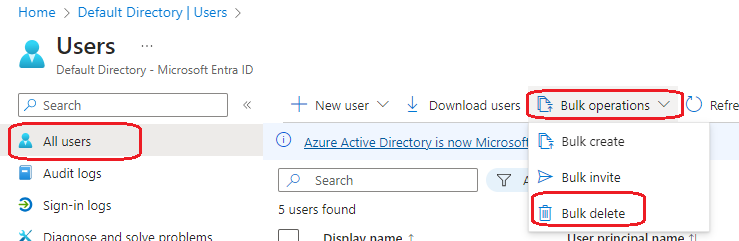
Select "Users" "All users" "Bulk operations"" Bulk delete"
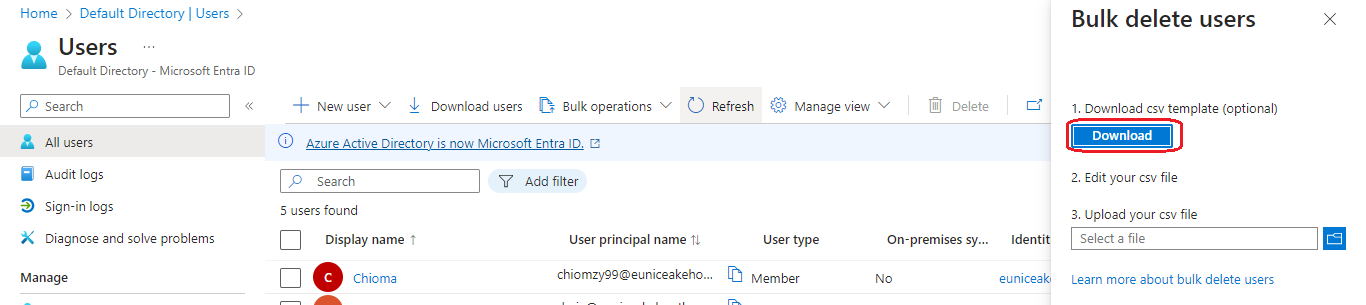
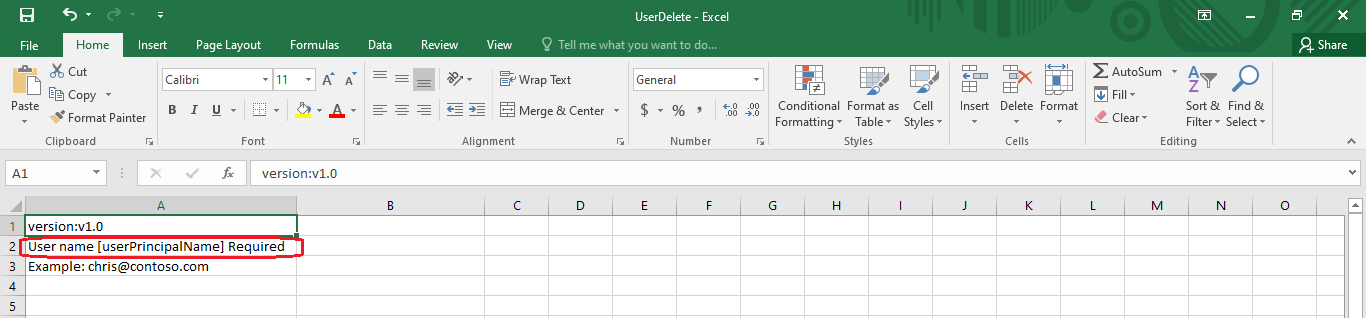
- It will prompt you to the page on the right "Bulk delete users" "Click On" "Download" CSV template
4. Ensure that the CSV file is properly formatted with the only required value is User principal name.
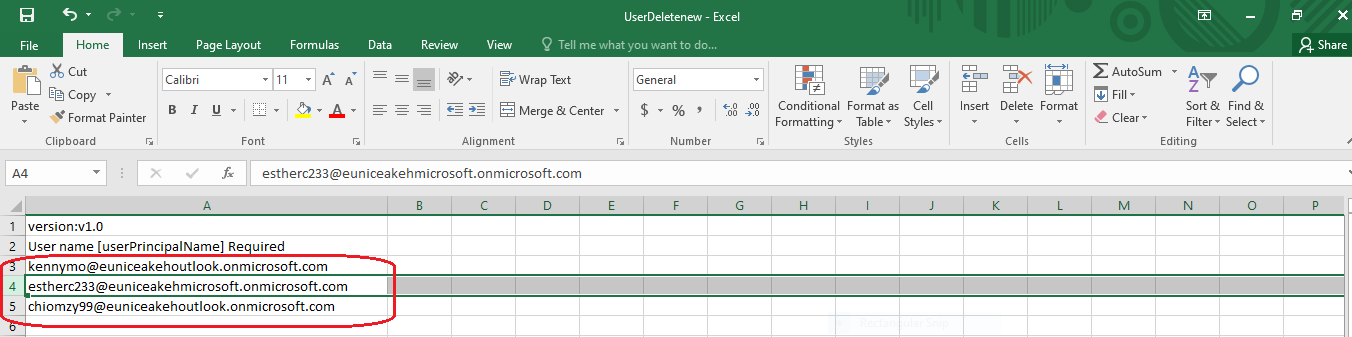
- Added Users to be deleted to the template and Save the file.
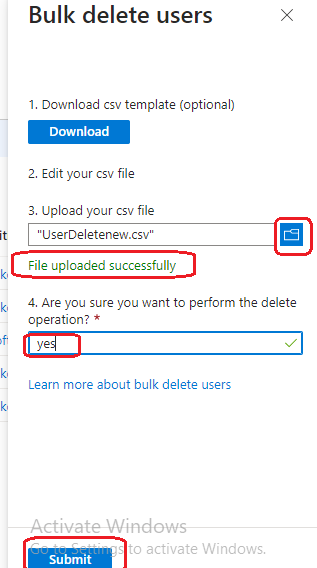
- On the Bulk delete user page, under Upload your csv file, browse to the file and upload. If there are errors, you must fix them but if you’ll see File uploaded successfully. Confirm you want to delete file by typing "Yes" as shown below and "Click On" "Submit"
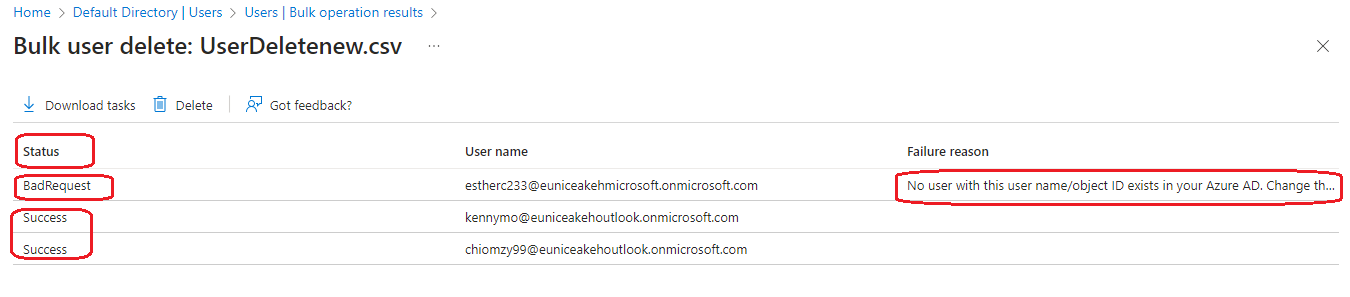
- "Click On" "Bulk operation results" go ahead and locate your uploaded CSV file for deletion "Select" and "Click On" the file

- View the status of your users and fix error on your CSV template if needed. When the deletion operation completes, you'll see a notification that the bulk operation succeeded. Navigate back to Users
"Click On " "Deleted Users". You can view both the deleted users. Succesfully Deleted
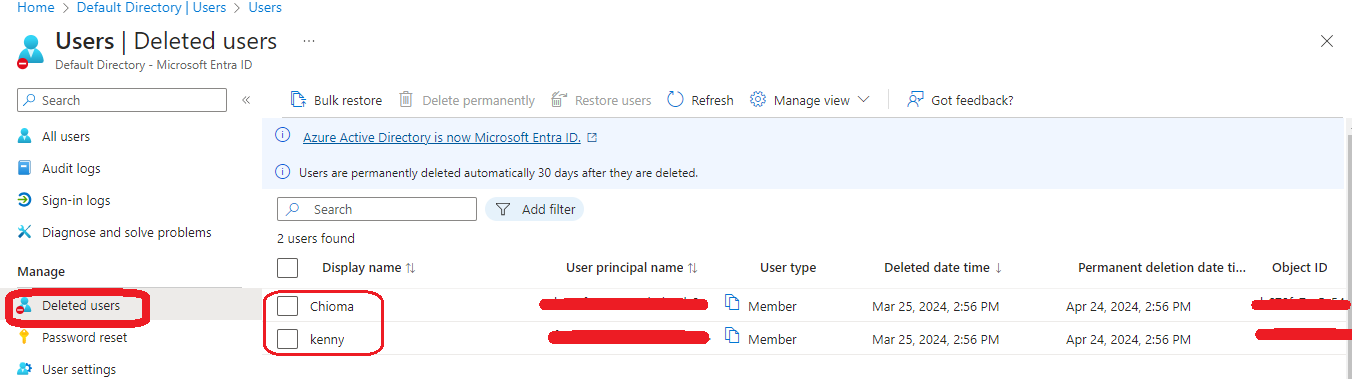
How To Restore Deleted Users
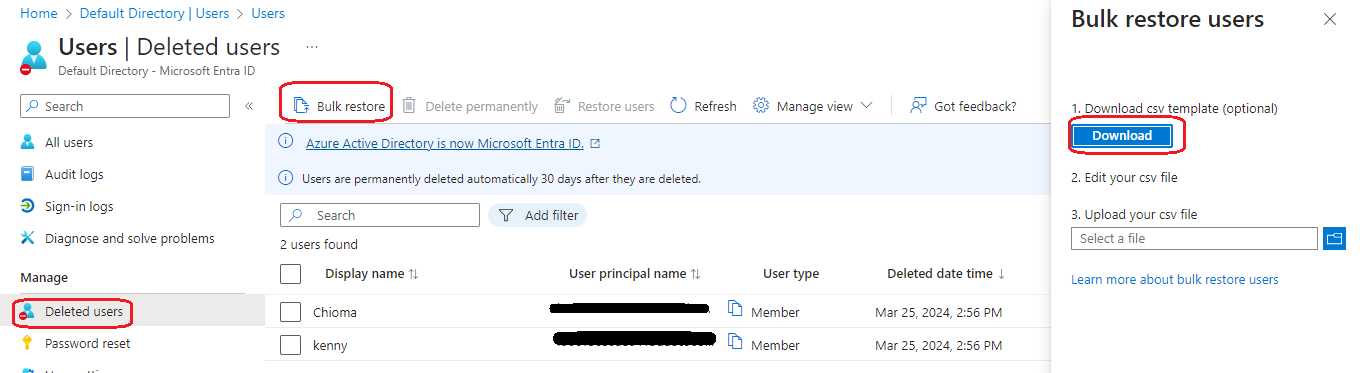
- Navigate to "All users" then "Click On" "Deleted users" and "Select" "Bulk restore". You will e prompted to the page on the right "Bulk restore users" "Click On" next "Download"
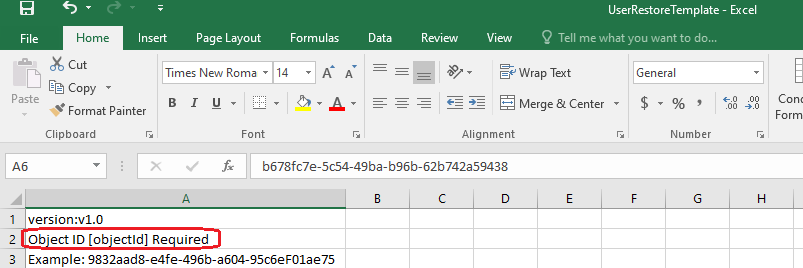
- Sample of downloaded template to edit and the only requirement is the user object Id.
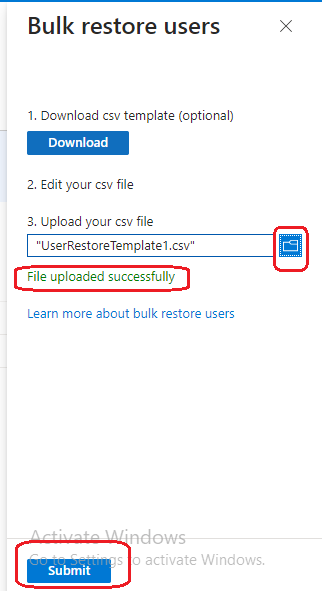
- Upload formatted restore template, after validating CSV file it will show File uploaded successfully fix error if any and the "Click On" "Submit"
- Navigate and "Click On" "Bulk operations results" you will see uploaded CSV file "Click On" "CSV file"
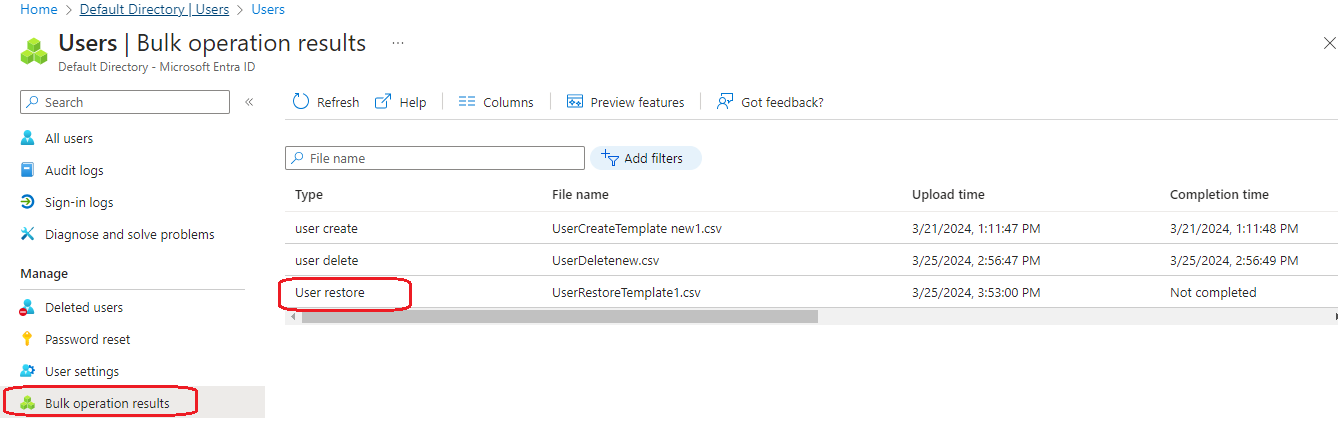
- Restored both users Successfully

- "Click On" "All users" and view your restored users