

Introduction
Preserving the operating system (OS) before deallocating a virtual machine (VM) is a common practice for several reasons:
Having a backup in place in case something goes wrong during or after deallocation is ensured by creating a preserved copy of the operating system. If necessary, this backup can be essential for returning the system to its initial configuration.
Having a saved OS image makes the procedure more simpler and faster if you ever need to replicate the virtual machine (VM) or install a similar environment. To spin up new virtual machines (VM instances), you can easily use the stored image as a template.
Keeping the OS intact might also contribute to security. A preserved image enables you to safely keep and manage any sensitive data or configurations inside the virtual machine (VM), lowering the possibility of data loss or unauthorized access.
Below is my previous blogpost URL showing the guidelines of I successfully deallocated a VM while retaining the resources e.g. OS Disk , Data Disks etc.
How to Customize your Preserved OS Disk Disk Before Restoring Your Virtual Machine
Customizing the size and performance of the OS Disk (OSDisk) in Azure involves several considerations such as disk size, performance tier, and storage type. Here's a breakdown of how to customize these aspects:
A. When creating or configuring a VM, you can specify the size of the OSDisk according to your needs
On the homepage of the Azure portal "Click on" "Virtual Machine"

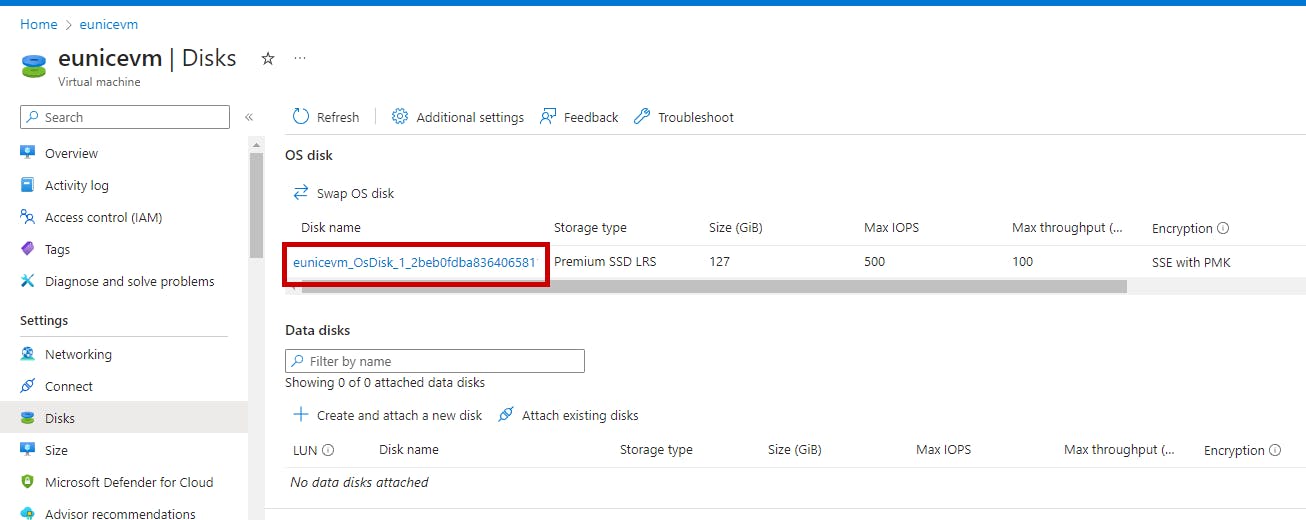
B. On Azure an operating System Disk (OsDisk) is always attached and pre-installed to a Virtual Machine
"Click on" your "OsDisk" as shown in the highlighted box below
C. " Click on" "Size + performance"
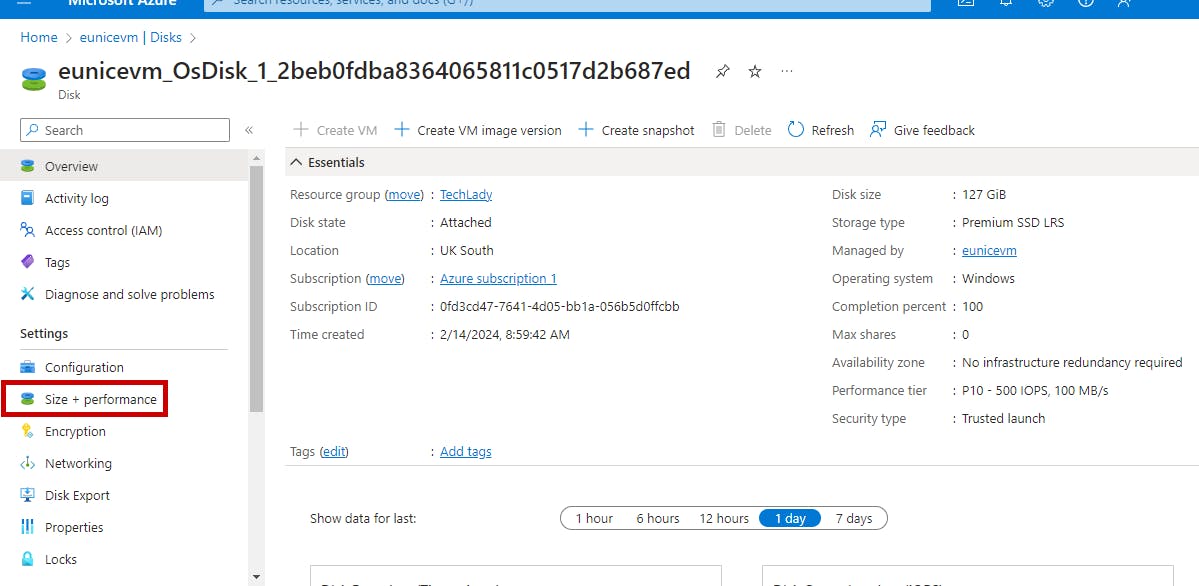
D. Storage Type: Within the Premium tier, Azure provides different types of SSDs with varying performance characteristics: Ultra disks, Premium SSD (Solid-state drives), HDD(hard disk drives) etc
NOTE: You can only increase your OsDisk size and you cannot reduce your size
You can "Select" the "Storage type" based on the performance requirements of your workload
You can "Select" " Disk size" or customize the Disk size

E. Performance Tier: Azure offers different performance tiers for disks, including Standard and Premium tiers.
Standard Tier: Standard storage is backed by magnetic drives and is suitable for workloads that require moderate performance
Premium Tier: Premium storage uses solid-state drives (SSDs) and offers higher performance with lower latency, making it suitable for I/O-intensive workloads such as databases and applications requiring high transaction rates
Choose the appropriate performance tier (Standard or Premium) based on workload demands.
If selecting Premium tier, you may further choose between Premium SSD and Ultra Disk based on performance needs
"Click on" "Custom disk size" if the size needed is not listed on the options available
"Click on" "Save"

F. By following these steps, you can customize the size and performance of the OSDisk in Azure VMs according to your specific requirements

Step-by-Step Guidelines on Retrieving The Virtual Machine
Step 1: : Accessing the Azure Portal
Log in to the Azure Portal using your Azure account credentials.
Navigate to the Azure Portal homepage by typing portal.azure.com in your web browser's address bar and pressing Enter.
Step 2: Locating the OS from Deleted Virtual Machine
Once logged in, On the Home page there will be a display a list of all your Resources created in your Azure subscription.
Select the deleted OSDisk from the list by clicking on its name
This will open the OSDisk overview page
"Click" "OSDisk" as highlighted below

Step 3: Initiating the Recovery Process
In the left-hand menu "Click" "Create VM"

3a: Fill in all the settings
Because we are using the preserved OSDisk some of the settings will be on default. As we go along we will encounter those default settings
Choose a subscription and resource group: Select the subscription you want to use for this VM and create or select an existing resource group. A resource group is a logical container for resources deployed on Azure.

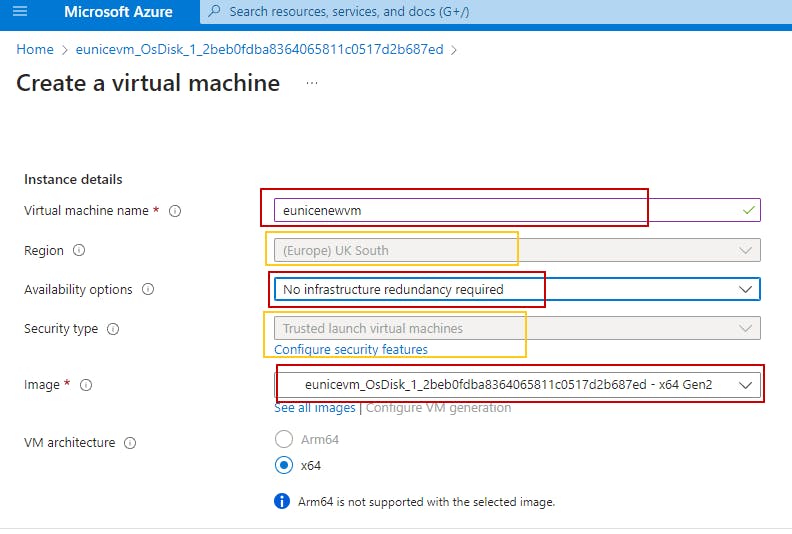
b. Configure Instance Details: The highlighted red boxes should be filled while the highlighted yellow boxes are on default from the preserved OSDisk settings
You will need to provide basic information about your VM, such as:
Project details: Name for your VM. It can be renamed or you can use the deleted VM'S name
Region: Choose the Azure region where you want to deploy the VM. Its on default setting
Availability options: Choose availability options if required.
Image: Select the operating system image for your VM. Azure provides various images for different operating systems and configurations.
Select your preserved OSDisk "Select" "OSDISK"
c. Choose a size: Select the appropriate size for your VM based on your requirements. Azure offers various VM sizes with different configurations of CPU, memory, and storage.
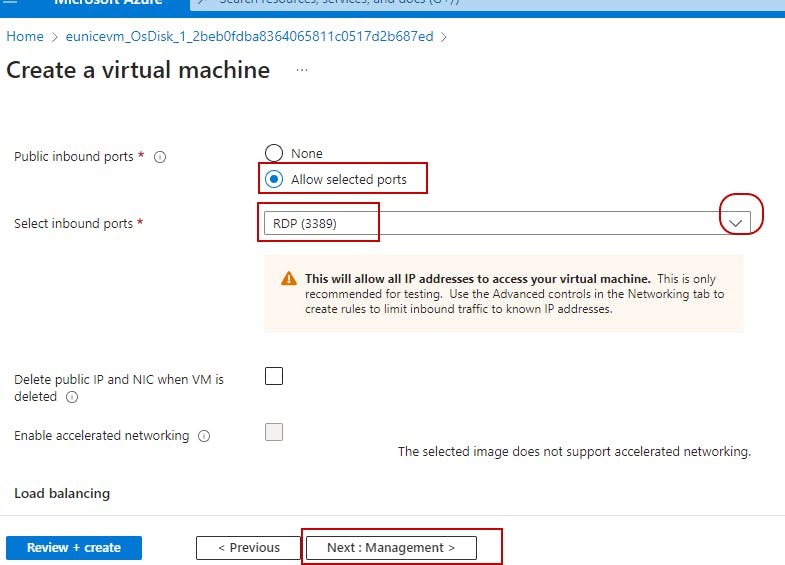
Inbound Ports Rules: Allow the default setting because that's what supports your Image
"Allowed Selected Port" "RDP3389"
"Click" "Next"

d. The OS disk size : The highlighted yellow box below Is on default setting from image

e. The OS Disk type highlighted in yellow is on default setting from the previous deleted VM settings
Authentication: Set up authentication methods (SSH key or password) to access the VM.
Disks: Configure disk options like disk type (Standard HDD, Standard SSD, Premium SSD), disk size, and disk encryption if needed
key management is essential to protect Data in the cloud ,it Increases security and control over keys and passwords. The platform-managed key is managed by Azure you also have the option of managing your keys yourself
"Select" "Platform-managed key" (Highlighted in a red box)
You can also create an additional new disk (optional) ,I will be writing my next blogpost on this
"Click" "Next: Networking"

f. Networking: Configure networking settings like virtual network, subnet, public IP address, network security groups. Azure creates these for you but you can also create them yourself by clicking on create as shown below
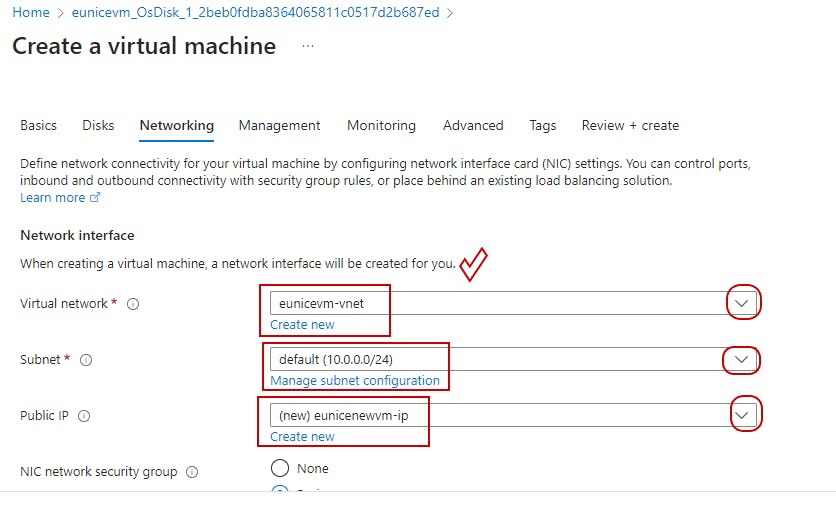
g. Public Inbound Ports & Inbound Ports is a network security group(NSG) that You can use to filter network traffic between Azure resources in an Azure virtual network. A network security group contains security rules that allow or deny inbound network traffic to, or outbound network traffic from, several types of Azure resources. For each rule, you can specify source and destination, port, and protocol. To learn more go to https://learn.microsoft.com
Allow all on the default setting
"Click" "Next: Management"
h. Management: Configure monitoring, boot diagnostics etc.
Auto-shutdown is required for cleanup purposes to stop your VM from running and reducing cost,
NOTE: For this to work your PC Time and Date must be correct in order for it to correspond with the Time & Date in Azure
"Click" 'Next: Monitoring"

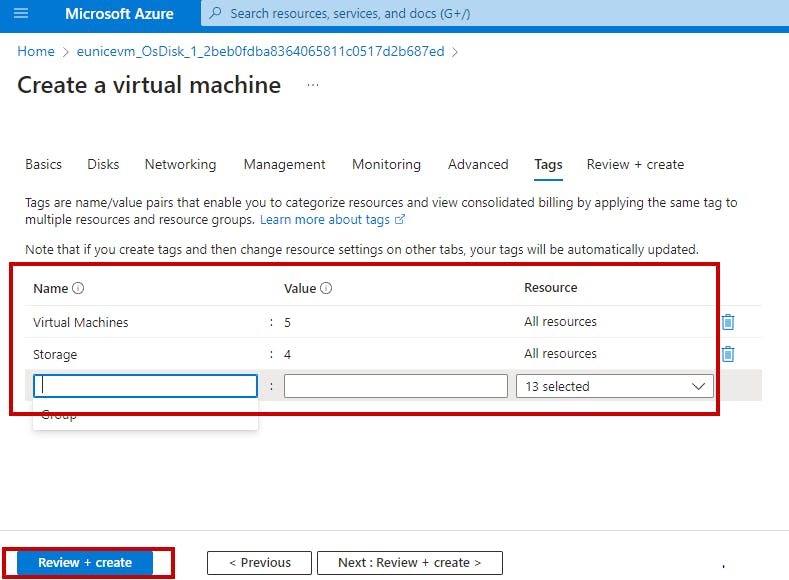
I. Tags: You can add metadata items to your Azure resources called tags. These are key-value pairs that assist you in finding resources according to parameters that are pertinent to your company. Add a key called Environment if you wish to monitor the deployment environment for your resources.
"Click" '"Review+Create"
j. Review all the configurations you have made for the VM. Once you are satisfied, click on the "Create" button to deploy the VM

k. Deployment: Azure will start deploying your VM based on the provided configurations. This process may take a few minutes to complete.
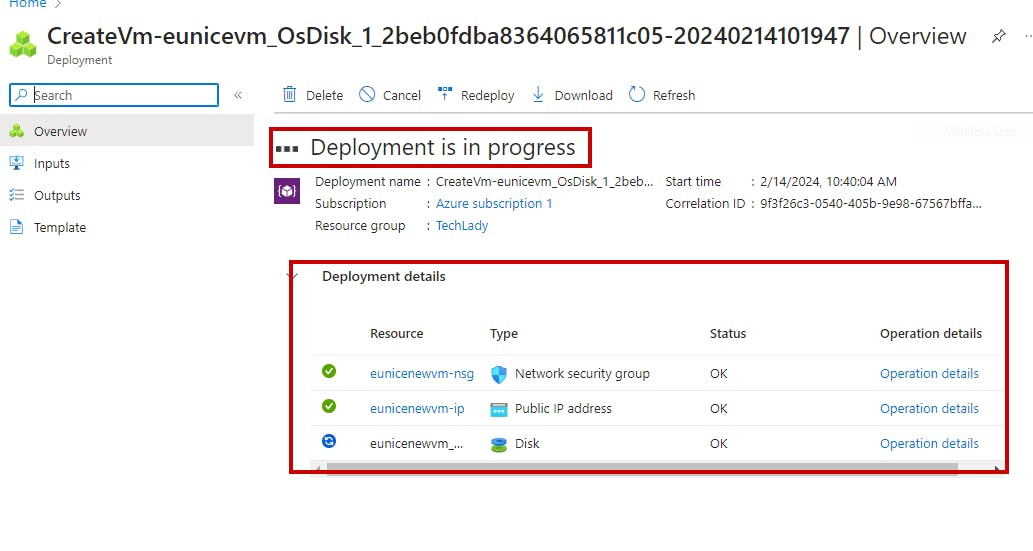
Step 4: Access your VM: Once the deployment is complete, you can access your VM using the configured authentication method (SSH key or password) and the public IP address or DNS name assigned to the VM
"Click" "Go to resource"

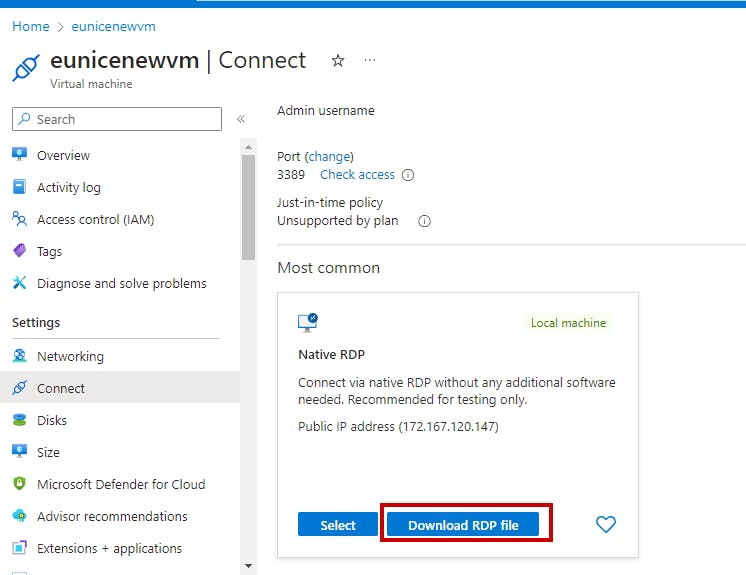
a. "Click" "Connect"

b. If you're using a Windows VM, you can connect to it using Remote Desktop Protocol (RDP)
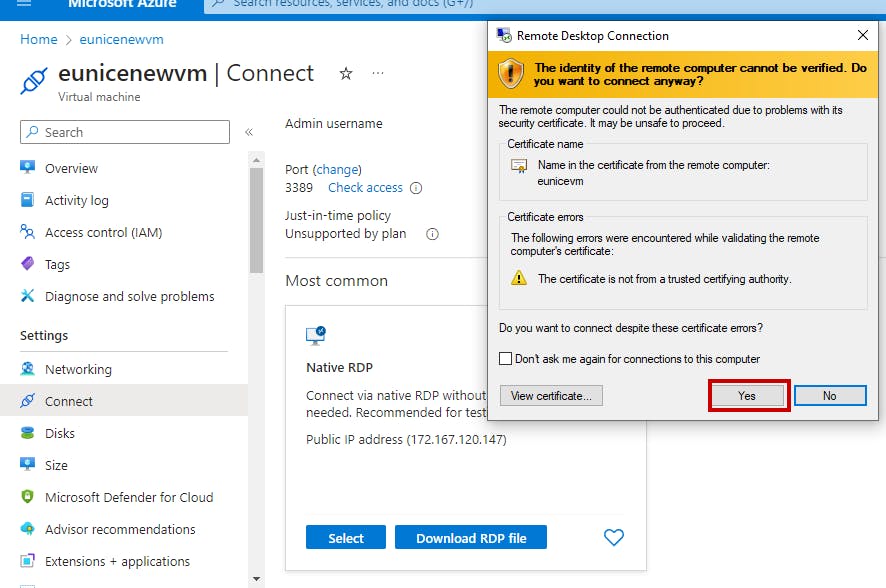
"Click" "Download RDP File"
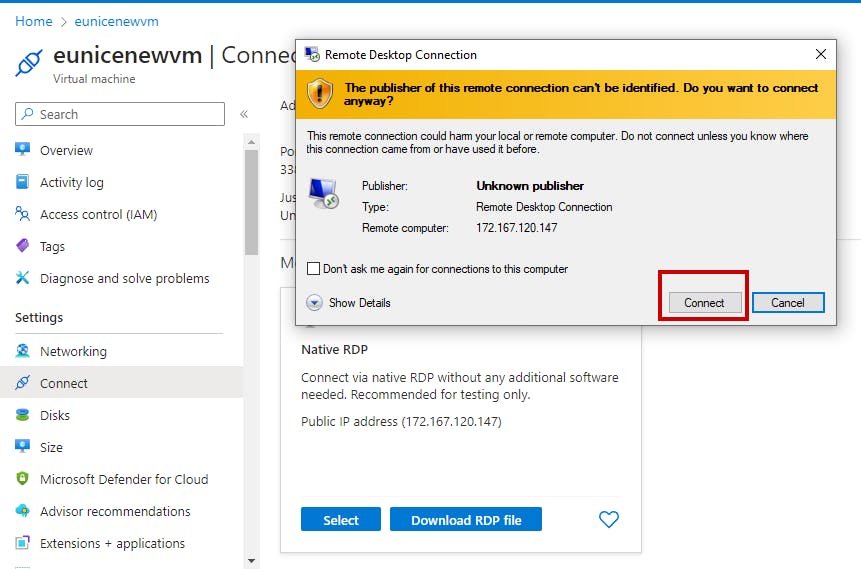
c. Remote Desktop client on your local machine (Windows)
"Click" "Connect"
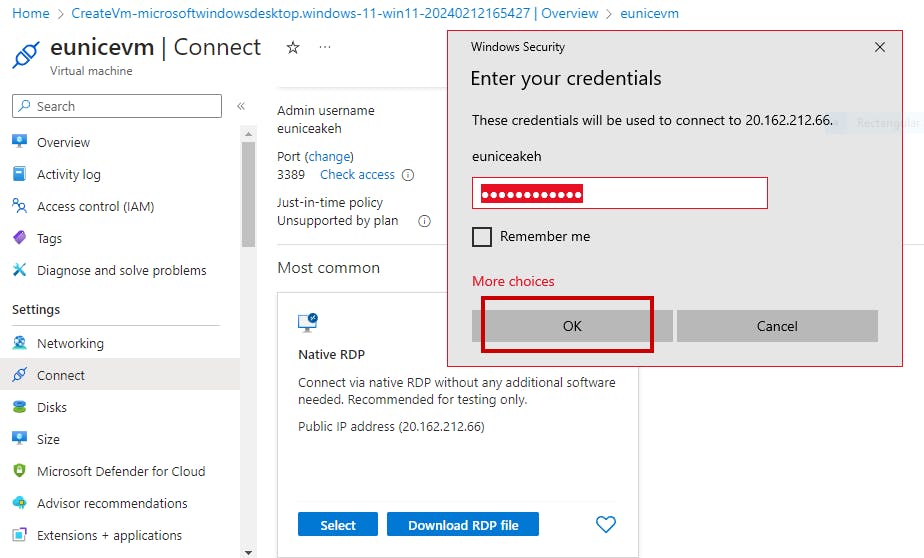
d. Provide the username and password you specified during VM creation
"Click" "OK"
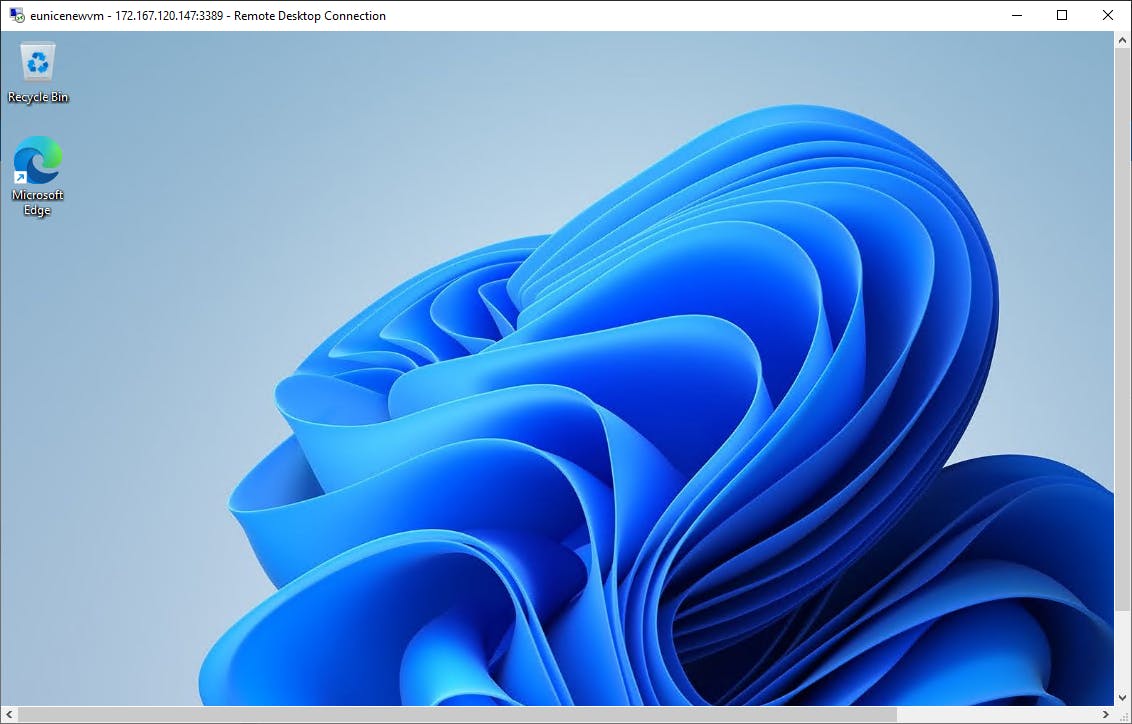
e. To connect to your Virtual desktop "Click" "yes"
f. And that's it! You've successfully used Azure to create a virtual computer. To make sure your virtual machine (VM) satisfies your needs and is safe, be sure to manage and keep an eye on it frequently.