Introduction
This tutorial will lead you through the process of utilizing an Azure quickstart template to create a basic Linux virtual machine. Users can quickly provision a virtual environment based on Linux that meets their requirements, be it development, testing, or production, by following these steps. Let's examine the procedures needed to set up a Linux virtual machine on Azure.
Step 1: Log Into Azure
Step 2: In the Homepage, Search and click on Custom deployment

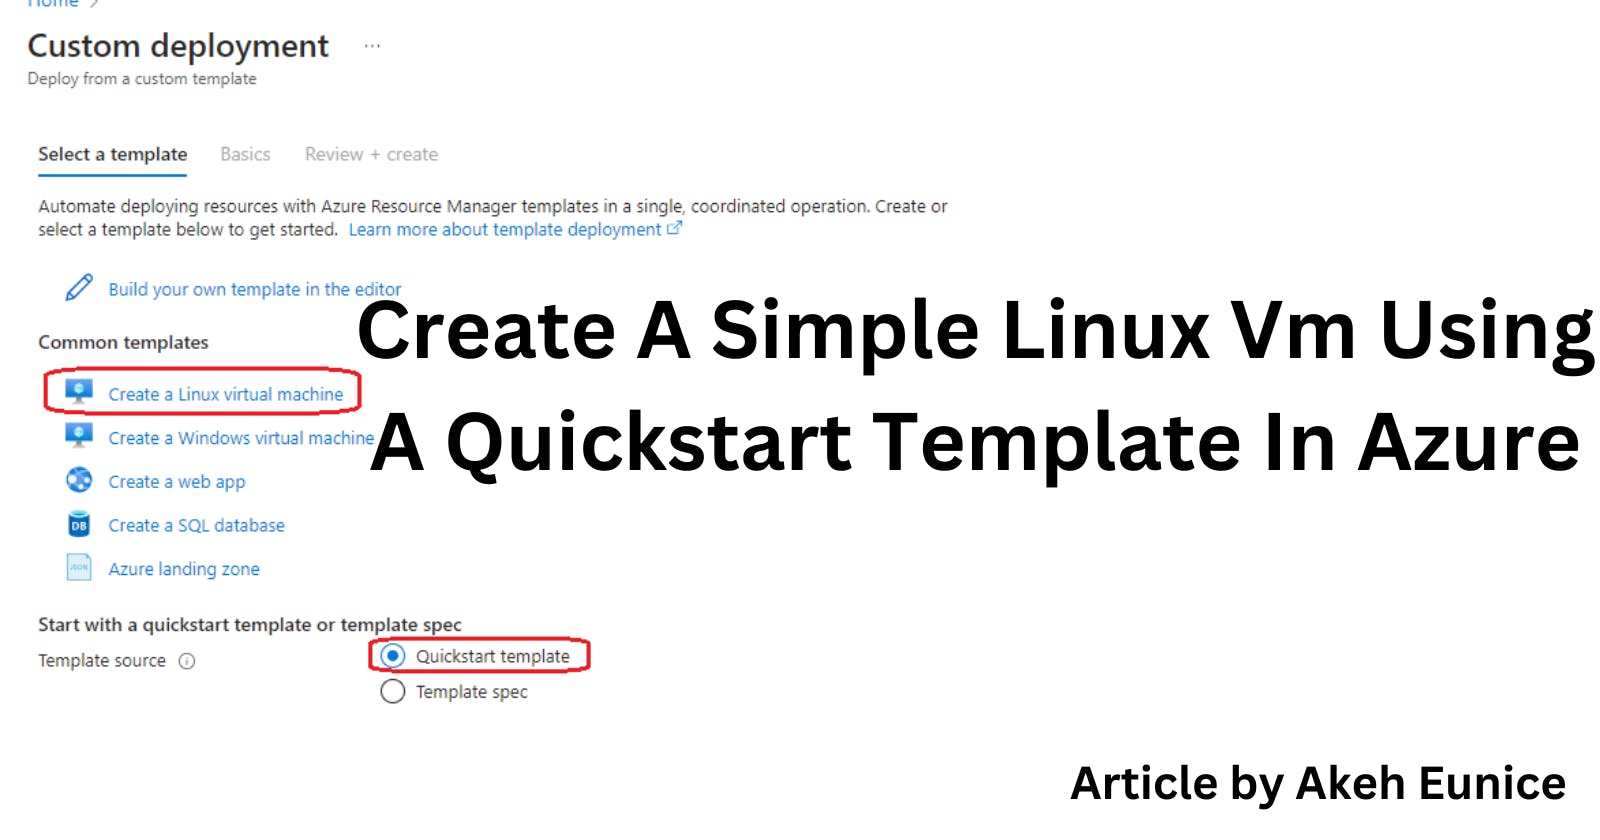
Step 3: "Click On" "Create a Linux virtual machine" and "Tick" "Quickstart template"

Step 4: "Click On" "Visualize" - To view in a diagram format the 6 resources to e created

Step 5: Visualize Diagram Illustration Of Resources - Simplelinuxvm, Simplelinuxnetworkinterface, Network security group, publicIP, Virtual network

Step 5: Fill In Basic Settings- "Create" "Resource group"

Step 5a: -"Select" your "Region" "East US -"Provide an Admin username " - Select Authentication type "Tick" "Password" - Provide a 12 long characters password - "Select" a unique identifier "Dns Label Prefix -Select the version of Ubuntu you want to run "Ubuntu 2004" -Location is set as the same as the Resource group Region

Step 5b: -Select a size for your VM "Standard_D2S_v3" - Name your Virtual Network - Provide a Name your Subnet - Give your NSG a Name -"Select" security type "TrustedLaunch

Step 6: Deploy VM - "Click On" "Create"

Step 7: Deployment In Progress

Step 8: Deployment Is Complete "Click On" "Go to resource group"

Step 9: Access the VM: After the deployment is complete, you can access your Linux VM using SSH. Use the provided username and password or SSH key to connect to the VM. Click on the link below to view how to connect to your LinuxVM https://hashnode.com/post/clslgn65r000209l6ggsb9jop

That's it! You now have a simple Linux VM running in Azure. You can further configure and manage the VM according to your requirements.
