Deploy a Windows VM with Azure Resource Manager
Introduction
One powerful feature Azure provides is the ability to deploy VMs using custom templates, streamlining the process and ensuring consistency across deployments. Azure Resource Manager is an Infrastructure as a Code (Javascript Object Notation {JSON}) template that helps to deploy your windows VM in Azure.
In this guide, we will walk through the step-by-step process of building a simple Windows VM using a custom template, specifically the Quickstart Template, in Azure.
STEP-BY-STEP GUIDE:
Step 1: Log into Azure portal
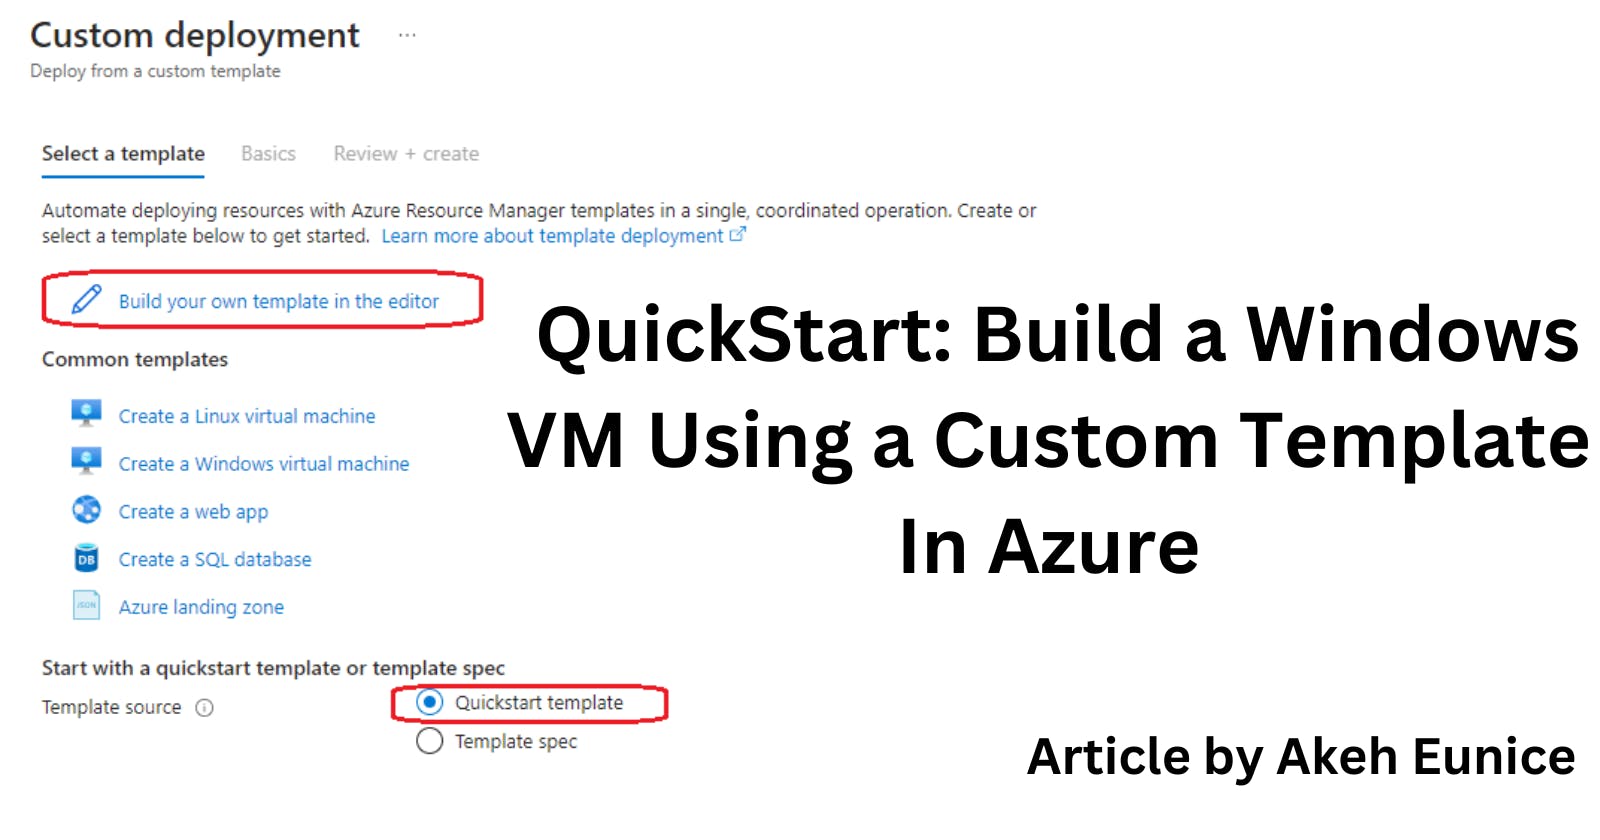
Step 2: QUICKSTART TEMPLATE: Is designed to help users to get started quickly with a JSON file which includes all the necessary file configurations to setup a new project with the ready to use template. TEMPLATE SPEC: Is a resource type for storing an Azure Resource Manager template into a template spec. "Click On" "Build Your own template in the editor" and "Select" "Quickstart template"

Step 3: ARM TEMPLATE IN A JSON file - Schema is the sturcture of the ARM template. ContentVersion is are values that make sure the right template is being used. Parameters component is used to pass information to the template. Resources component is used to define resources in the template.

Clear your environment

Step 4: Get a Quickstart Template - Click on the link below to copy a JSON Template, it is in a coding format https://raw.githubusercontent.com/BrentenDovey-ACG/AZ-104_Azure_Administrator/master/S02_Basic_Prerequisites_of_Azure_Administration/L04_Using_ARM_Templates/azuredeploy.json
Step 4a: Review and edit code according to your specification
Step 5: Paste your JSON Template and "Click On" "Save"

Step 6: You will be prompted to this page and below is the 6 resources from your customized template. "Click On" "Visualize"

Step 7: Defined Resources In Your Template In a Visualized Form- This is what we will create Virtual Machine, Storage account , Network Interface Card, Public IP, Virtual Network and Network Security Group

Step 8: Fill In The Basic Settings - "Create or Choose Resource group" and "Region"

Step 9: Fill in Your VM Login Details - Add "Username" and "Admin Password" then "Click On" "Review + Create" NOTE: The other resources are already been created from your custom template

Step 10: "Click On" "Create"

Step 11: Deployment In Progress - Below shows the different resources being deployed.

Step 12: Deployment Is Complete- "Click On" "Go to resource group"

Step 13: Go to Virtual Machine- "Click On" "vm-demo.002"

Step 14: Connect to your Windows Vm

Step 15: RDP into Vm- Use the link as a guide to RDP into your VM https://hashnode.com/post/clsk77dgi000u09l03a7bfyiy

Conclusion
Utilizing a personalized template in Azure to deploy a Windows virtual machine simplifies the procedure and guarantees uniformity among deployments. The above-mentioned step-by-step tutorial will help you easily create and configure a Windows virtual machine (VM) that meets your needs. Azure's scalable and adaptable infrastructure makes it simple for developers, IT specialists, and company owners to take use of the cloud's potential. Use Azure's Quickstart Template feature to speed up the deployment of your virtual machine and concentrate on what really matters.
